Sunday, October 31, 2010

Mummy Dogs


************HAPPY HALLOWEEN!!!**************

(A) Giddy (Up) Cowgirl!


Wolverine!


Hope everyone had a wonderful day :-)


INGREDIENTS:
1 can (8 oz) refrigerated crescent dinner rolls (such as Pillsbury)
10 large hot dogs
Cooking spray
Mustard or ketchup, if desired

DIRECTIONS:
1. Heat oven to 375°F.
2. Unroll dough; separate at perforations. With knife, cut each into strips.
3. Wrap pieces of dough around each hot dog to look like "bandages," stretching dough slightly to completely cover hot dog. About 1/2 inch from one end of each hot dog, separate "bandages" so hot dog shows through for "face."
4. Place a sheet of aluminum foil on a large cookie sheet and lightly spray with cooking spray. Place wrapped hot dogs on the sheet and spray dough lightly with cooking spray.
5. Bake 13 to 17 minutes or until dough is light golden brown and hot dogs are hot. With mustard, draw features on "face."

Source: Pillsbury

Wednesday, October 20, 2010

Chocolate Chip Banana Muffins


I love making homemade muffins. They are so easy and my kids can't get enough of them. Plus, I can easily adapted most recipes to make them a bit healthier without sacrificing taste and that is what I did with this one.

I traded out some of the all-purpose flour for whole wheat and the vegetable oil for canola. Next time, I might also substitute some of the oil with applesauce.

Make sure to reserve a few of the chocolate chips, so you can place them on top of the batter once in the muffin pan. It will make for a nice presentation once they are baked.


My kids couldn't get enough of these! They ate them for breakfast, snack and I packed them for school too.


Ingredients:

1 cup all-purpose flour
3/4 cups whole wheat flour
3/4 cup sugar
1 teaspoon baking powder
1 teaspoon baking soda
1/2 teaspoon salt
1 egg
1/2 cup canola or vegetable oil
1/2 cup plain, vanilla or banana yogurt
1 teaspoon vanilla extract
1 cup mashed ripe bananas (3 bananas)
3/4 cup semisweet chocolate chips (reserve a few to sprinkle on top)

Directions:

In a large bowl, combine the flour, sugar, baking powder, baking soda and salt. In another bowl, combine the egg, oil, yogurt and vanilla. Stir into dry ingredients just until moistened. Fold in bananas and chocolate chips. Fill greased or paper-lined muffin cups two-thirds full. Place the remaining chocolate chips on top of the muffin batter. Bake at 350 degrees F for 22-25 minutes or until a toothpick comes out clean. Cool for 5 minutes before removing from pans to wire racks.

Source: adapted from AllRecipes

Saturday, October 16, 2010

Black Forest Cake


I should have titled this "easy black forest cake". When my neighbor invited us over for an Oktoberfest party, I quickly volunteered to bring dessert. The first thing to pop into my head.... black forest cake.

When it came time to make, I had to simplify things a bit and decided to use a box of devil's food cake, cherry pie filling and whipped cream instead of making it all from scratch. It wasn't 100% traditional but everyone still loved it and I would certainly make it again.

I used a bar of German sweet chocolate and a vegetable peeler to make the chocolate shavings.

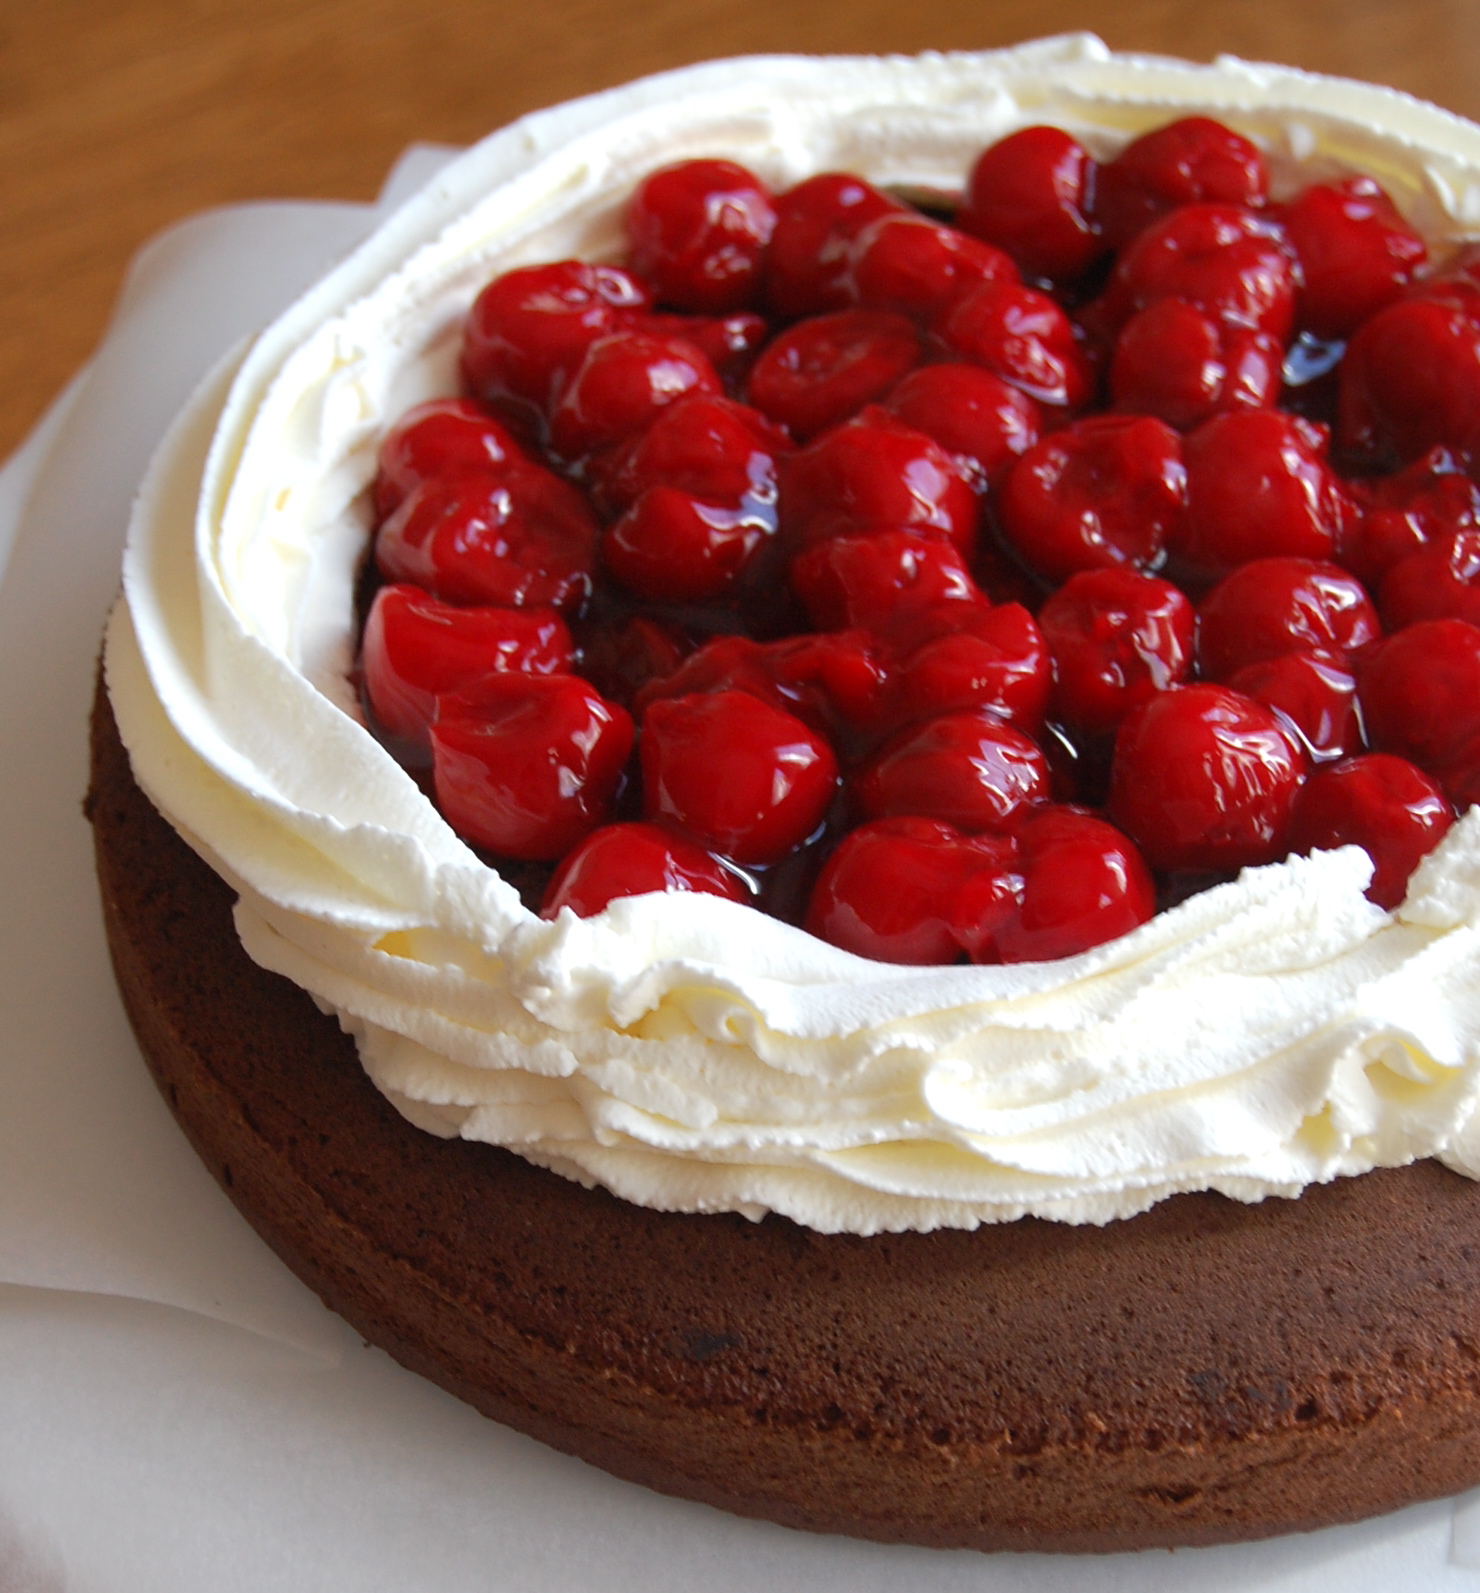
How easy is this...just add cherry pie mix.

My neighbor went to the local German grocery store bought a variety of traditional sausages. I'm not sure what types they were but they were delicious!

One of the guests planned traditional German music....so much fun!! Everyone loved it, especially my kids.


Ingredients:

1 box devil's food cake mix (such as Betty Crocker® SuperMoist®)
Water, vegetable oil and eggs called for on cake mix box

Filling and Topping
1 1/2 pints whipping cream
1/2 cups sugar
2 to 3 tablespoons brandy, if desired
1 can (21 oz) cherry pie filling
1/2 teaspoon almond extract
2 tablespoons sliced almonds
1 cup chocolate shavings

Directions:

1. Heat oven to 350°F for shiny metal pans (or 325°F for dark or nonstick pans). Spray bottoms and sides of 2 (8- or 9-inch) round cake pans with baking spray with flour.

2. Make and bake cake as directed on box for 8- or 9-inch rounds, using water, oil and eggs. Cool 10 minutes; remove from pans to cooling rack. Cool completely, about 1 hour.

3. Place mixing bowl and beaters in the freezer for 15 minutes. Then, add the whipping cream and beat with electric mixer on high speed until slightly thickened. Gradually beat in sugar and almond extract until stiff peaks form. In another small bowl, mix pie filling and brandy (if using).

4. On serving plate, place 1 cake layer, bottom side up. Pipe a ring of whipped cream around the cake to act as a border for the filling. Spread with 3/4 cup cherry mixture inside the whipped cream border. Top with second cake layer.

5. Frost top and side with whipped cream. Gently press chocolate shavings to side of cake. Pipe a thick ring of whipped cream to top of cake and spoon remaining cherry mixture in the middle. Sprinkle with sliced almonds. Store covered in refrigerator until ready to serve.

Source: Chef Mommy

Monday, October 11, 2010

Spider Cake


I apologize for being so slow in posting lately. I actually have about 6 recipes marked as "drafts", so hopefully I'll be able to pick up the pace soon. Anyway, I did want to get this recipe out because I've gotten a few emails about it.

If you remember a few posts ago, I wrote about this great blog called Culinary Covers....well, when I first went on the site this spider cake really caught my eye. When I got the chance to put a party together for Foodbuzz, I knew this cake would be perfect.

A few things about this recipe and the instructions...I didn't use the doctored up box pumpkin cake from the original recipe. The author of Culinary Covers didn't really like it and I thought a devil's food cake would look beautiful when cut into. While I don't mind using a cake mix from a box, I really hate canned frosting and went with my new "go-to" frosting, Martha Stewart's Swiss meringue buttercream.

I followed the advice about printing the template on heavy cardstock but ran out of time and didn't get a chance to laminate it. If you make this cake, DO try to get the template laminated. It will make using it much easier. With that said, it was a bit of a PITA but at the end of the day I was happy with the results and the guests seemed to like it too.

Ingredients:
1 box of Devil's Food Cake Mix
1 can of white vanilla frosting or your favorite homemade frosting (I used a homemade Swiss meringue frosting)
black sanding sugar
print out template here

Directions:
1. Preheat oven to 350 degrees F. Coat two 8-inch pans with cooking spray.
2. Prepare the cake according to package directions. Divide batter between the two prepared pans.
3. Bake 30 to 35 minutes, or until cakes test done when toothpick inserted in the center comes out clean.
4. Let cakes cool for 10 minutes before removing to racks to cool completely.
5. Transfer frosting to a bowl and fluff it up with a hand mixer for about 15 seconds (this will make the frosting more silky and easier to spread).
6. Ice top of one cake layer with with frosting; place second cake layer on top. Ice entire double-layered cake, smoothing out the top as much as possible. Chill in the fridge for 15 minutes (to set the frosting).
7. Print spider template on heavy card stock (here). Cut as directed, lightly spray back side with cooking spray and center stencil on cake. Sprinkle black sugar to cover image, keeping rest of cake clean. Press sugar lightly with fingers to make sure it adheres. Brush off excess sugar and carefully remove stencil.

Source: adapted from Culinary Covers, originally from Country Living.

Tuesday, October 5, 2010

Foodbuzz 24x24: Trick or Treat


When I saw that this month's Foodbuzz 24 x 24 event was kid themed, I knew I had to submit a proposal. I was so excited to have been selected again and it was a blast planning this party. We invited some of our favorite neighbors over for an early, not-too-spooky Halloween party and everyone had a great time.

I was also happy to see that this month, Foodbuzz had teamed up with Frigidaire and their Save the Children fund. So, in addition to sponsoring my party, they also donated $50 for each of the 24 event bloggers to Save the Children. This program is dedicated to providing nutritious snacks and promoting healthier lifestyles for children living in poverty in the United States. Please visit them for more info and to learn how you can help.


Superheroes, princesses, a skeleton, a cowgirl, Elmo and a ballerina all joined us for an afternoon of food and fun!

...and I couldn't help but get dressed up too!

I kept the menu fairly simple and tried to balance sweet treats with healthier options.

The Food:
Monster Meatballs
Mini Mummy Pizza
Vegetable Crudités with Wacky Web Ranch Dressing (Chef Mommy Original)
Guco-Moldy and Black Tortilla Chips
Mummy Dogs


The Desserts:
Spider Cake (I'll post this recipe soon)
Worms in Dirt Cups
Witches' Brooms Cookies
Boo-Berries


The "Boo-berries" reminded me of the Scream :)

My daughter was a big fan of the witches' brooms cookies.

The Drinks:
Fruit Juice Punch
Wine
Seasonal beer
I also had water, juice boxes, soda and regular beer available.


The tablescape was black, white, orange, polka dots and a black and white damask print. I was very excited when I found this wine at Target with a perfectly matching label. For the kids, I served V8 Splash instead of Kool-Aid to cut down on the sugar a bit.


The Activities:
A party wouldn't be complete without a game or two. So, everyone got to guess how many candy corn were in a jar . I also had a piñata and the kids decorate plain white craft bags with stickers and crayons. The kids filled the bags with the candy and stickers from the piñata


The winner got a prize but everyone else still got to eat some of the candy corn.

The piñata was a big hit....all of the kids loved it!


Other Details:
I kept decorations simple; spider webs, spiders, pumpkins, and other Halloween themed items. To stay within budget, I borrowed a lot of the decorations from my neighbor.

One of the best things I bought, was a pack of assorted spider rings for $1.99. I used these as napkin rings, wine glass charms, as decoration in the spider webs and inside my china cabinet. I even buried a bunch in the sand box outside for the kids to dig up.


A Special Thank You:
Finally, I have to thank my wonderful neighbor, Polly, for all of her help. I couldn’t have done it without her. She lent me her Halloween magazines for inspiration, dropped off a bunch of Halloween decorations and helped prep the food the day of the party. THANK YOU AGAIN....you're the best!